Supplies needed
Tube of choice - I am using the very cute artwork of Laguna
which can be purchased from Pics For Design
Filters :
Muras Meister - copies
Carolaine & Sensibility
Eye Candy 4 - Gradient Glow
You can find all the filters HERE
Fonts - Typographer Caps & Close to you
~~~~~~~~~~~~~~~~~~~~~~~~~~~~~~~~~~~~~~~~~~~
This tutorial was written by Mizteeque on 19th January 2016
written in psp9 but any version should work
any resemblance to other works is entirely coincidental
~~~~~~~~~~~~~~~~~~~~~~~~~~~~~~~~~~~~~~~~~~~
Open blank canvas 700 x 700
floodfill with gradient made from two colors from your tube
linear, angle 45, repeats 3
copy and paste tube as new layer
resize if necessary
apply muras meister copies, wallpaper rotate, default settings
Apply Carolaine & Sensibility filter
CS-BRectangles
control 0 - 17
control 1 - 18
control 2 - 164
control 3 - 128
Selction tool, custom selection
top 0, left 0, right 700, bottom 250
Image, crop to selection
duplicate the C&S layer 3 times for a total of 4
rename them from bottom to top 1,2,3,4
hide 2,3 & 4,
working on the layer 1
selection tool, rectangle, feather 0, mode Add
select around several of the squares randomly
across the tag
apply C&S CS-DLines
control 0 - 40
control 1 - 5
change blend mode to Lumincance Legacy
unhide layer 2
repeat CS-DLines but change control 1 to 8
change blend mode to Lumincance Legacy
unhide layer 3
repeat CS-DLines but change control 1 to 11
change blend mode to Lumincance Legacy
unhide layer 4
repeat CS-DLines but change control 1 to 14
change blend mode to Lumincance Legacy
deselect
copy and paste tube as new layer
resize and position to your liking
dropshadow
duplicate bottom gradient layer
layers, arrange, bring to top
select all, contract by 4
hit delete on your keyboard
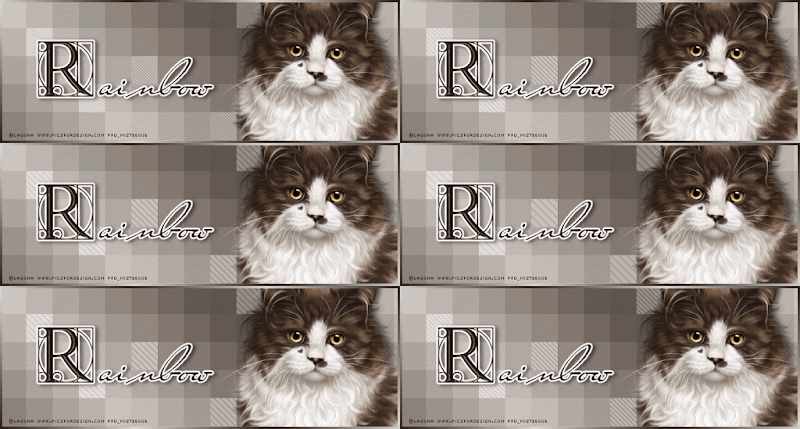
Add name
I used Typography Caps for the Initial and Close to you for the remainder of the name
I then applied a gradient glow and dropshadow
Add license & copyright information
hide layers 2,3 & 4 again
Copy merged
Open animation shop
paste as new animation
back to psp
hide 1, unhide 2
copy merged
back to AS
paste after current frame
repeat for layers 3 & 4
make sure your arrow is selected in AS
hold down the shift key and click on frames 2 & 3
copy
now click on frame 4
paste after current frame
click on Animation on the top toolbar and click on reverse frames
now when you play your animation the diagonal lines should look
like they are going in and out
save as gif


Thanks so much Tee.
ReplyDeleteIt's a great tut!