Showing posts with label Laguna. Show all posts

Saturday, 15 December 2018

Piggin' Christmas

Supplies needed:

Tube of choice -  I am using the 'oh so cute artwork of Laguna 
which you can purchase from Pics For Design
My Mask 003 HERE
Scrapkit Gingerbread Wishes from Pink Paradox Productions
Font of choice

Filters - Muras Meister - copies

~~~~~~~~~~~~~~~~~~~~~~~~~~~~~~~~~~~~~~~~~

This tutorial was written by Mizteeque on 15th December  2018 and assumes a working knowledge of psp
Written using psp9 but other versions should work just as well
Any similarity to other works is unintentional and purely coincidental

~~~~~~~~~~~~~~~~~~~~~~~~~~~~~~~~~~~~~~~~


Open blank canvas 700 x 700
floodfill white

c/p paper 18
apply mask
merge group
resize by 115

c/p element 92
resize 30
muras meister - copies - encircle
change shift x & Y to 60
change angle to 22
d/s

c/p frame 2
resize 60
image flip
magic wand, click inside the frame
expand by 5
on the muras layer, hit delete
deselect
d/s

c/p element 92 above frame layer
resize 40, rotate right 36
image effects, offset, h145, v-120, trans/custom clicked
d/s

c/p element 91
resize 30
place under the red flowers
d/s

c/p element 17
resize 40
image, mirror
offset, h-60, v-182
d/s

c/p element 106
resize 50
offset, h-175, v30
d/s
drag below the book

c/p element 115
resize 50
place on top of tree
(you may wish to rotate it a little to the left)
duplicate, merge down

c/p element 36
resize 30
offset, h-183, v-111
d/s

make frame layer active
c/p tube
resize 25 if using the same tube as me
or to fit if using a different tube
position to your liking
d/s

add name, copyright and license information
delete white background layer
merge visible
crop and save as png

Monday, 5 March 2018

Steampunk Yorkie


This tutorial was written by Mizteeque on 5th March 2018 and assumes a working knowledge of psp
Written using psp9 but other versions should work just as well
Any similarity to other works is unintentional and purely coincidental


Supplies Needed:

Tube of choice - I am using the gorgeous artwork of Laguna
which can be purchased from Pics for Design
Scrapkit - Steampunk Girl by Taggerworld
My mask 122 HERE
Font of choice - I used Inkland

~~~~~~~~~~~~~~~~~~~~~~~~~~~~~~~~~~~~

open blank canvas 700 x 700
floodfill white

c/p paper 3
apply Miz_Mask122
merge group

c/p frame 3, resize 80

element 59, resize 60, bottom left

element 30, magic wand, click on each black wing, 
expand by 1, delete, 
deselect, mirror, 
resize 55, 
rotate right 10, 
place on top 
of previous element so the screws in the middle of the flowers are showing

element 48, resize 60, duplicate twice

On original, image effects, offset, H-80, V145

on 1st duplicate, offset, H -141, V-10

on 2nd duplicate, offset, H 132, V-169

element 25, resize 40, rotate left 35, move to bottom

element 76, resize 40, bottom right

element 28, resize 60, on top of element 25

element 67, resize 65, place top left, ensure one of the cogs
is showing just above it a bit.

c/p tube just above frame layer, resize to fit

d/s all elements and tube, 2,5,50,8,black

add name, copyright and license information
delete white bg layer
merge visible
crop and save as png

Here is another example 


Sunday, 26 March 2017

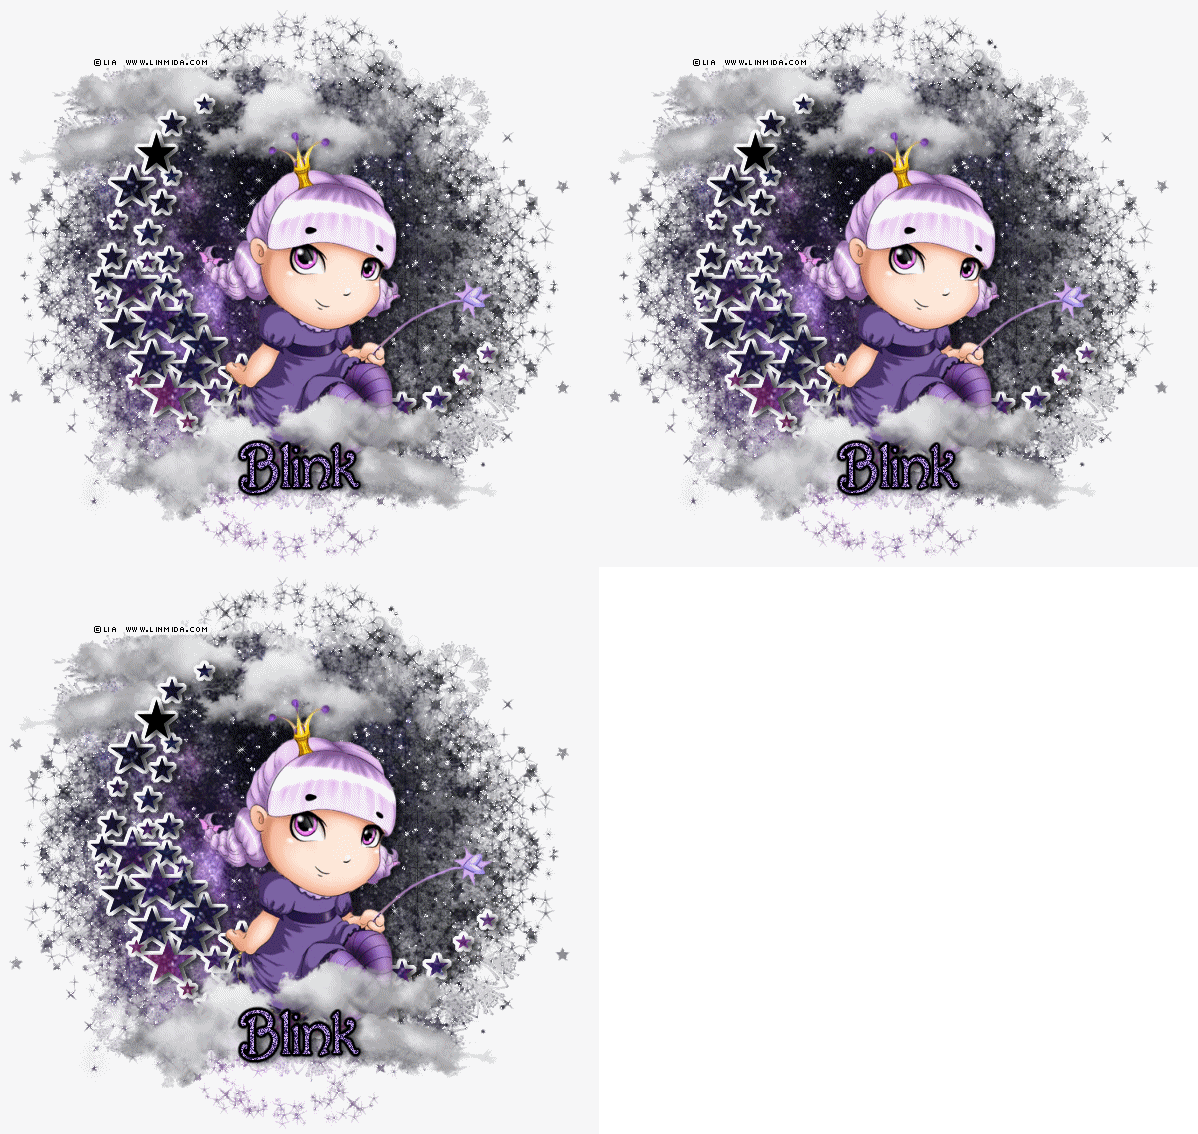
Starry Night


Supplies needed:

Tube of choice - I am using This little cutie from Laguna over at Pics for Design
You must have a license to use the same tube.
My Scrapkit Starry Night
My mask 153 HERE
Font of choice
Xenofex 2 - Constellation

~~~~~~~~~~~~~~~~~~~~~~~~~~~~~~~~~~~~~~~~~

This tutorial was written by Mizteeque on 6th March 2017  and assumes a working knowledge of psp
Written using psp9 but other versions should work just as well
Any similarity to other works is unintentional and purely coincidental
~~~~~~~~~~~~~~~~~~~~~~~~~~~~~~~~~~~~~~~~~


Place mask in your masks folder
open supplies in PSP

open blank canvas 700 x 700
floodfill white

copy and paste paper 5 as new layer
apply Miz_mask 153
merge group

copy and paste element 28
select all, float, defloat,
expand selection by 4
new raster layer
floodfill white
deselect
drag white layer below the star crescent layer
dropshadow 2,5,50,8,black

copy and paste tube as new layer
resize to fit nicely on your star crescent
dropshadow

copy and paste element 37 as new layer
resize by 50
position along bottom of star crescent
duplicate
position top left of star crescent 
and drag below it

Add name, copyright and license information

Now duplicate the mask layer twice
on the original mask layer
xenofex 2 - constellation
Star size 2
star variation 14
edge star density 7
overall star density 0
overdrive 100
twinkle amount 75
rotation 45
keep original image - checked

repeat for the two duplicated mask layers
ensuring you hit the Random seed button each time

hide the top two mask layers
copy merged

Open animation shop (as)
paste as new animation

back in psp, 
hide star crescent bottom layer
unhide middle one
copy merged

in AS, paste after current frame

back in psp, 
hide middle star crescent layer
unhide top one
copy merged

in AS, paste after current frame

save as gif.


Here are some more examples made by the members of my forum 

Deeva

Marie


Lisa


Bee


Monday, 9 May 2016

Its a Dogs Life!


Supplies needed:

tube of choice - I am using the beautiful artwork of Laguna
which can be purchased from Pics For Design
Supplies HERE
Filters : Muras Meister - Copies

~~~~~~~~~~~~~~~~~~~~~~~~~~~~~~~~~~~~~~~~~

This tutorial was written by Mizteeque on 1st May 2016 and assumes a working knowledge of psp
Written using psp9 but other versions should work just as well
Any similarity to other works is unintentional and purely coincidental

~~~~~~~~~~~~~~~~~~~~~~~~~~~~~~~~~~~~~~~~~


Open supplies and place selection file in your selections folder

Open blank canvas 700 x 700
floodfill white

choose a colour from your tube 
set as foreground colour, background to null
preset shapes tool, circle, width 25, create as vector
draw out a circle in the middle of your canvas
Objects, align, center in canvas
convert to raster

duplicate this circle twice
position one to the left and down slightly
and the other to the right and down slightly
drag both under the to circle in the layer palette

now make the top circle active
magic wand, feather 0
click inside the circle 
expand by 4
new raster layer, floodfill with gradient of choice (something that matches your tag)
drag this layer below the circle layer
deselect

text tool - visitor TT2 font, size 14, anti alias off, colour black
type out your phrase, I used "its a dogs life!"
convert to raster
muras meister, copies, tiling angle, default settings but change tile gap to 3

on your gradient layer, 
select all, float, defloat, invert
hit delete on your text layer
deselect

On left circle, magic wand, click inside the circle
expand by 4
new raster layer, floodfill with colour of choice
copy and paste your tube as new layer
position and resize as necessary
selections invert
hit delete on your keyboard
drag colour layer and tube layer below the left circle
change blend mode on tube layer to luminance (legacy)

repeat for the right circle but use a different colour to floodfill
and resize tube to a different size

dropshadow all 3 circle layers 2,5,50,8, black

hide white background and merge visible

New raster layer
Load/save selection from disk
Load Miz_filmstrip2 selection
floodfill with colour of choice (I used the same colour as my circles)
deselect
position at bottom of circles, 
rotate left 5

magic wand, Mode Add, feather 0, tolerance 10
click inside the first filmstrip frame
new raster layer, expand selection by 2
floodfill with gradient of choice
copy and paste tube, resize as necessary
position inside the selection to your liking
selections invert, delete
deselect
change blend mode to Difference
drag filmstrip layer to the top of your layer palette

repeat with the other 4 frames of the filmstrip
dropshadow filmstrip

hide white background & merged circles
merge filmstrip layers together
duplicate, image, mirror
unhide all other layers

copy and paste tube one last time
resize and position to fit
dropshadow

Add name, license and copyright information
delete white background layer
merge visible, save as png


Monday, 8 February 2016

Kittie Angel


Supplies needed:

Tube of choice - I am using the beautiful artwork of Laguna
which can be purchased from Pics For Design
Scrapkit  of choice - The one used is a Taggers Inn Exclusive
My Template 78 HERE
Mask of choice
Font Broken Kiss 

~~~~~~~~~~~~~~~~~~~~~~~~~~~~~~~~~~~~~~~

This tutorial was written by Mizteeque on 17th January 2016
Written using psp9 but other versions should work just as well
Any similarity to other works is unintentional and purely coincidental


Open template, shift & D to duplicate and close original
delete credits layer
image, canvas size, 800 x 800

Follow these steps on the following layers

Select all, float, defloat
c/p paper as new layer
invert selection
hit delete on keyboard
deselect
delete original layer

layer 2, 7, 11 & 15
paper 2

Layers 4, 9, 13 & 17
paper 7

Now make layer 3 active
select all, float, defloat
new raster layer
floodfill with linear gradient made from two colours from your tube
repeats 4, angle 45
deselect
delete original layer

repeat for layers 
5, 8, 12, 16, 19 & 20

Then go back over the same layers and apply
Carolaine & Sensibiity - CSLDots
default settings

make sure you are on the top layer

c/p elements 60 & 64
resize by 50 
duplicate one of them
now rotate left using your deform tool and arrange
in a small cluster to your liking

c/p element 56
resize by 50
rotate, duplicate and position under your roses

dropshadow each element 2,5,50,8,black, 
merge them all together
drag this merged layer to just below layer 14 (the large glittered circle)
and to the left so it is poking out from behind the glittered circle

duplicate
image, mirror

Make layer 18 active (small circle of hearts)
you can floodfill these with a colour, gradient, paper of your choice
or leave them as they are (I left mine)

make top layer active
c/p tube 
resize to fit
d/s 

Now go back and d/s each template layer 0,0,30,8,black

Make BG layer active
c/p paper 7 
apply mask 
merge group

Add name, license and copyright information
Delete white BG layer
merge visible
Crop and save as png


Here is another example